How Do I Crochet: Picot Stitch
How do I crochet the picot stitch, you ask? That's a great question! Follow this tutorial and learn how to crochet three different picot stitches.The Picot Stitch is usually used as an edging, added onto a finished garment.
Learn more by checking out our page, All About the Picot Stitch: How To + 10 Picot Crochet Patterns. The picot stitch adds such beauty to crochet pieces.
SMALL PICOT STITCH:
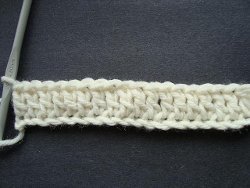
- Work along the edge of a finished item. (To make a length of picot edge to add to a ready-to-wear purchased item, begin with a chain, or a strip of single crochet or double crochet.)

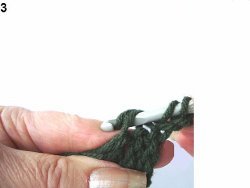
- Single crochet in the first stitch.

- Chain 3, single crochet in the next stitch.

- Single crochet in the next 3 stitches. Chain 3, single crochet in the next stitch. (Picot formed).

- Repeat step 4 across the row.

MEDIUM PICOT STITCH:
- Repeat the instructions for small picot stitch, but chain 5, instead of chain 3.
- To make a slightly flared picot edge, as shown in the photo to the right, do the sequence of single crochet, chain 5, single crochet in the same stitch.
- This will flare out slightly, and could be useful for the bottoms of tank tops, or skirts, on the edges of sleeves, or hats.

BAUBLE ENDED PICOT STITCH:
- Follow the instructions for the small picot stitch, except chain 7 instead of chain 3.

- Slip stitch in the 6th stitch from the hook.

- Slip stitch in the last stitch of the chain. Single crochet in the next 3 stitches.

- Repeat steps 1, 2, and 3 across the row.

Check out Emi Harrington's designer profile and other great tutorials!
Read NextWaffle Stitch Crochet Pattern

