Victorian Ornaments Afghan
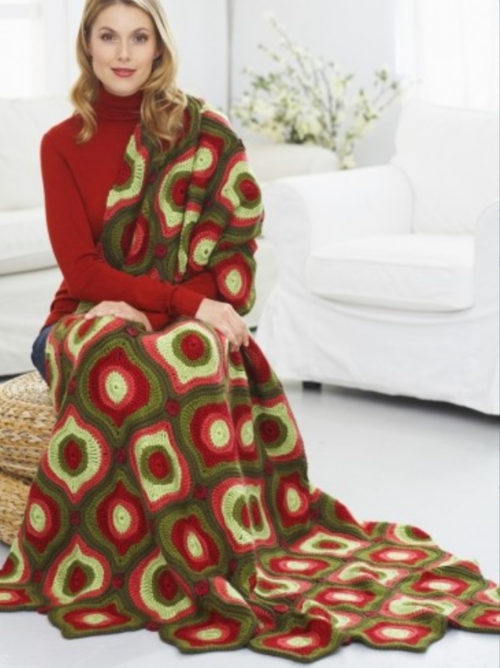
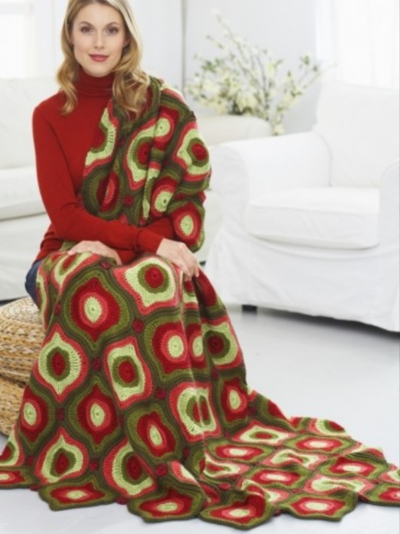
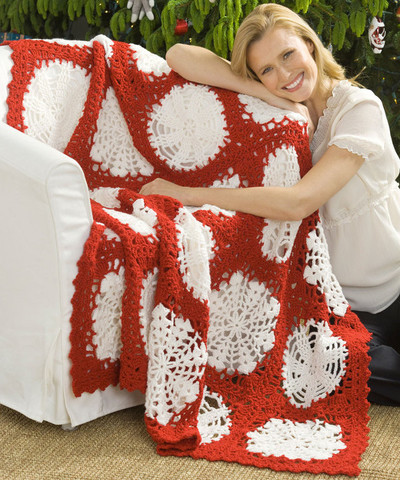
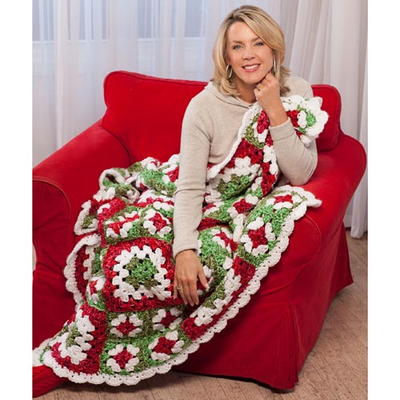
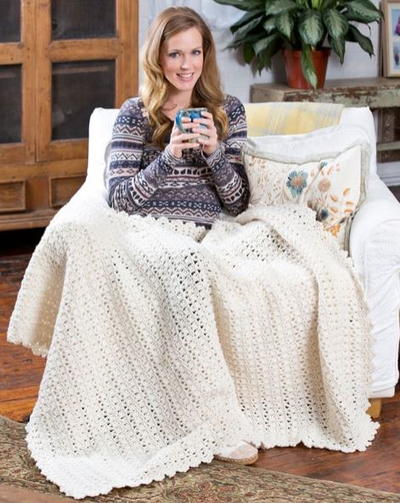
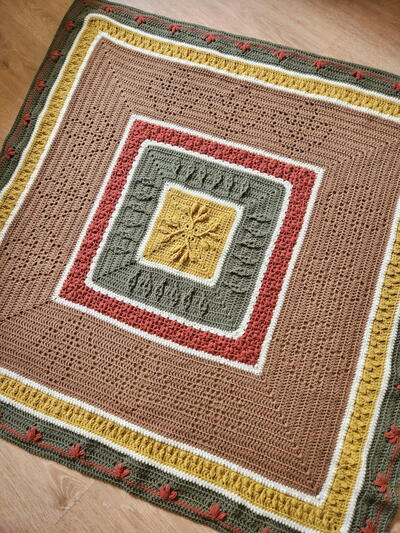
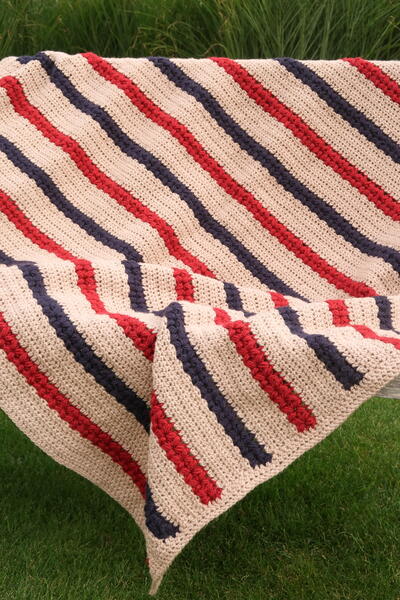
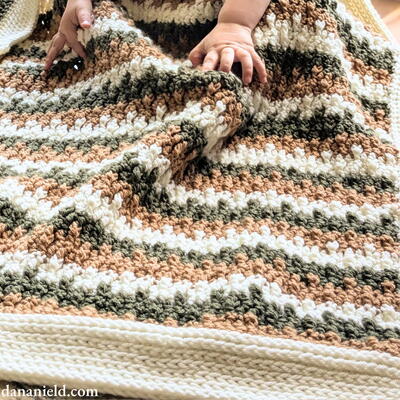
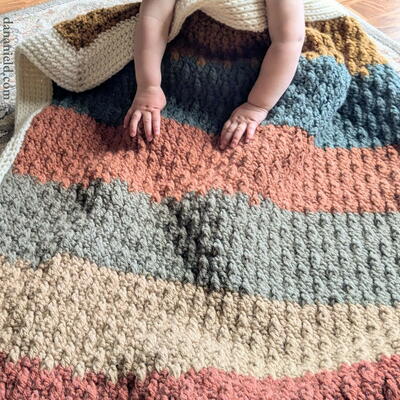
There's nothing better than an old-fashioned Christmas crochet blanket to keep you warm during the holidays. The Victorian Ornaments Afghan will do just that, and add a festive vintage flair to your home. This Victorian crochet blanket uses the treble crochet and the double treble crochet stitch, which results in a very beautiful texture. The forest green and crimson red colors make this vintage crochet afghan a must for winter. If you are in need of Christmas crochet ideas, look no further.

Crochet HookH/8 or 5 mm hook, I/9 or 5.5 mm hook
Yarn Weight(4) Medium Weight/Worsted Weight and Aran (16-20 stitches to 4 inches)
Materials:
- Caron's Simply Soft Collection - 3 skeins each
- Color 1: Pistachio (0003)
- Color 2: Harvest Rose (0002)
- Color 3: Cypress (0010)
- Caron's Simply Soft - 3 skeins each
- Color 4: Wine Country (9757)
- Color 5: Forest Floor (9758)
- Caron's Simply Soft Paints - 1 skein
- Color 6: Sunset (0008)
- Hooks: Size H8/5 mm, Size I9/5.5 mm
- Bead stitch markers
- Tapestry needle
Size: Afghan measures approximately 50"/127 cm wide by 74"/188 cm long
Gauge: One large motif measures about 9"/23 cm high x 8"/20.5 cm wide. Gauge is not critical for this project.
INSTRUCTIONS:
Special Techniques:
Adjustable-ring method—Wrap yarn into a ring, ensuring that the tail falls behind the working yarn. Grip ring and tail firmly between middle finger and thumb. Insert hook through center of ring, yarn over (with working yarn) and draw up a loop. Work stitches of first round in the ring. After the first round of stitches is worked, pull gently, but firmly, on tail to tighten ring. Invisible join—After last stitch in around is made, cut yarn leaving a 6"/15 cm tail. Pull tail completely through last stitch. Thread the tail onto yarn needle and weave the end under the top 2 loops of the first st of the round and then back down in to the center of the top of the last stitch of the round.
Join with a stitch—Place as lip knot on hook. Yarn over number of times needed for specific stitch (e.g. do not yarn over for sc, yarn over once for dc). Hold wraps in place with finger and insert hook in indicated stitch, yarn over and draw up a loop, complete as for specific stitch.
Notes
- Afghan is made from 83 large motifs, 14 half large motifs, and 82 circle motifs. The motifs are arranged according to the assembly diagram and sewn together.
- Around of slip stitches is worked after every color change. The next round of stitches will always be worked into the stitches of the previous round, not into the slip stitches.
- Most rounds and rows begin by joining the yarn with a particular stitch and end with an invisible join. This results in a join that is almost undetectable. If preferred yarn can be joined with a sl st at the beginning of around, and a traditional beginning chain (e.g.ch 2 for hdc, ch 3 for dc, ch 4 for tr, and ch 5 for dtr) worked instead of joining the yarn with a stitch. At the end of around, the invisible join can be used, or the round can be joined with the more traditional slip stitch.
LARGE MOTIF
(Make 83–48 in color sequence #1 and 35 in color sequence #2) Note: Large motifs are worked with RS facing at all times. Do not turn at end of rounds. Always join new color with RS facing.
Color Sequence #1: Work 1 round each with A, B, D, C, then E. Color Sequence #2: Work 1 round each with D, C, A, B, then E. With first color and larger hook, make an adjustable ring.
Round 1 (RS): Ch 3 (counts as first dc), (4 dc, 3 tr, 3 dc) in ring, place stitch marker in last dc made, (4 dc, 3tr, 2 dc) in ring; join with sl st in top of beginning ch-3—20 sts.
Round 2: Sl st in each st around; invisible join in first sl st. Fasten off first color.
Round 3: With RS facing and working in sts of Round 1, join 2nd color with dc in marked dc, dc in same dc as join, *dc in next st, 2 dc in each of next 2 sts, 2 hdc in each of next 2 sts, hdc in next st ,2 hdc in each of next 2 sts, 2 dc in next st*, dc in next st, place marker in last dc made, dc in same st; repeat from * to *; invisible join in first dc—36 sts.
Round 4: Repeat Round 2. Fasten off 2nd color.
Round 5: With RS facing and working in sts of Round 3, join 3rd color with tr in marked dc, tr in same st as join, 2 tr in next st, * tr in next st, 2 tr in each of next 2 sts, 2 dc in each of next 2 sts, dc in next 3 sts, tr in next st, (tr, ch 1, dtr, ch 1, tr) in next st, tr in next st, dc in next 3 sts, 2 dc in each of next 2 sts*, 2 tr in next st, tr in next st, place marker in last tr made, tr in same st; repeat from * to * ; invisible join in first tr—56 sts and 4 ch-1 sps.
Round 6: Repeat Round 2. Fasten off 3rd color.
Round 7: With RS facing and working in sts of Round 5, join 4th color with dc in marked tr, dc in same st as join, 2 tr in next st, * tr in next st, 2 tr in next st, 2 dc in each of next 2 sts, dc in next 2 sts, 2 hdc in next st, hdc in next 2 sts, [hdc 2tog] twice, dc in next st, 2 hdc in next st, (dc, ch1, tr, ch1, dc) in next st, 2 hdc in next st, dc in next st, [hdc 2tog] twice, hdc in next 2 sts, 2 hdc in next st, dc in next 2 sts *, 2 dc in each of next 2 sts, tr in next st, place marker in last tr made, tr in same st; repeat from * to *; 2 dc in next st; invisible join in first dc—76 sts and 4 ch-1 sps.
Round 8: Repeat Round 2. Fasten off 4th color.
Round 9: With RS facing and working in sts of Round 7, join 5th color with sc in marked tr, sc in same st as join, 2 sc in next st, * sc in next st, 2 sc in each of next 2 sts, sc in next 10 sts, [sc 2tog] twice, sc in next 2 sts, (sc, hdc) in next st, (hdc, ch 1, dc, ch 1, hdc) in next st, (hdc, sc) in next st, sc in next 2 sts, [sc 2tog] twice, sc in next 10 sts*, 2 sc in each of next 2 sts; repeat from * to *; invisible join in first sc—88 sts, and 4 ch-1 sps.
Round 10: Repeat Round 2. Fasten off 5th color.
HALF LARGE MOTIF
(Make 14) Notes: Half large motifs are worked in same order as color sequence #2 of large motifs. Half large motifs are worked with RS facing at all times, to ensure that the stitches look the same as those in large motifs. Fasten off at end of each row, and rejoin yarn at beginning of each row. With D and larger hook, make an adjustable ring.
Row 1 (RS): Ch 4 (counts as first tr), (tr, 7 dc, 2 tr) in ring—11sts. Fasten off D.
Row 2: With RS facing, join D with sl st in first st, sl st in each remaining st across. Fasten off D.
Row 3: With RS facing and working in sts of Row 1, join C with hdc in first st, 2 hdc in each of next 2 sts, 2 dc in each of next 2 sts, dc in next st, 2 dc in each of next 2 sts, 2 hdc in each of next 2 sts,hdc in last st—19 sts. Fasten off C.
Row 4: With C, repeat Row 2. Fasten off C.
Row 5: With RS facing and working in sts of Row 3, join A with dtr in first st, ch 1, tr in same st as join, tr in next st, dc in next 3 sts, 2 dc in each of next 2 sts, 2 tr in each of next 2 sts, tr in next st, 2tr in each of next 2 sts, 2 dc in each of next 2 sts, dc in next 3 sts, tr in next st, (tr, ch 1, dtr) in last st—29 sts and 2 ch-1 sps. Fasten off A.
Row 6: With A, repeat Row 2. Fasten off A.
Row 7: With RS facing and working in sts of Row 5, join B with tr in first st, ch 1, dc in same st as join, 2 hdc in next st, dc in next st, [hdc 2tog] twice, hdc in next 2 sts, 2 hdc in next st, dc in next 2 sts, 2 dc in each of next 2 sts, 2 tr in next st, tr in next st, 2 tr in next st, 2 dc in each of next 2 sts, dc in next 2 sts, 2 hdc in next st, hdc in next 2 sts, [hdc 2tog] twice, dc in next st, 2 hdc in next st, (dc, ch 1, tr) in last st—39 sts and 2 ch-1 sps. Fasten off B.
Row 8: With B, repeat Row 2. Fasten off B.
Row 9: With RS facing and working in sts of Row 7, join E with dc in first st, ch 1, hdc in same st as join, (hdc, sc) in next st, sc in next 2 sts, [sc 2tog] twice, sc in next 10 sts, 2 sc in each of next 2 sts, sc in next st, 2 sc in each of next 2 sts, sc in next 10 sts, [sc 2tog] twice, sc in next 2 sts, (sc, hdc) in next st, (hdc, ch 1, dc) in last st—45 sts and 2 ch-1 sps. Fasten off E.
Row 10: With E, repeat Row 2. Fasten off E.
CIRCLE MOTIF
(Make 82) With smaller hook and F, ch 4; join with sl st in first ch to form a ring.
Round 1 (RS): Ch 1, 8 sc in ring; join with sl st in first sc—8 sc.
Round 2: Sl st in each st around; join with invisible join in first sl st. Fasten off.
FINISHING With WS facing, arrange all motifs as shown in assembly diagram. With E, and sewing on WS, whip stitch motifs together. Using yarn needle, weave in all ends.
Your Recently Viewed Projects
johnlillie789 1413 246
Apr 21, 2019
The instructions are rather confusing because it starts in the middle of the round, rather than from point to point. The point on where to start the repeat did not match the count for the opposite side. I had to rework the instructions for rnd 7 to get it to turn out evenly per side. BTW I am a very experienced crocheter and do many advance crochet patterns. Poor rating based on the written instructions that needed to be reworked.
Zeemer
Oct 24, 2018
Subdued but hast its own statement. A different shade unlike the bright ones. Very elegant.
pdstordeur 7159926
Aug 07, 2017
There isn't a picture of the afghan but there are instructions. It just doesn't help to see if I like it before starting. Very sad. (
KathrynAllison
Aug 08, 2017
Hello pdstordeur 7159926, there was a temporary glitch in our system, but the image for this pattern has now been restored. Our apologies for the inconvenience! -Editors of AllFreeCrochetAfghanPatterns
gml7277 4351993
Sep 04, 2015
What do we need the knitting needles for?
melissasea22
Sep 12, 2016
There is no mention of knitting needles at all, the pattern indicates a Tapestry and a Yarn needle, those are large eyed needles to sew yarn with and can be found near the hooks in the craft/big box stores like walmart or michaels.
dcm841984
Jul 23, 2015
what are the other colors, 2, 3, and 4?
Editor AllFreeCroc het
Jul 23, 2015
diannemasias - We apologize for the error in the pattern. We are contacting the original designer in hopes of finding out the colors you are referring to. In the mean time, if you would like to crochet this pattern, we suggest that you could try to match the colors to the photo in Simply Soft yarn. We will update the pattern when the designer replies. Thank you for your comment. Happy crocheting! - Editors at AllFreeCrochet
Report Inappropriate Comment
Are you sure you would like to report this comment? It will be flagged for our moderators to take action.
Thank you for taking the time to improve the content on our site.


